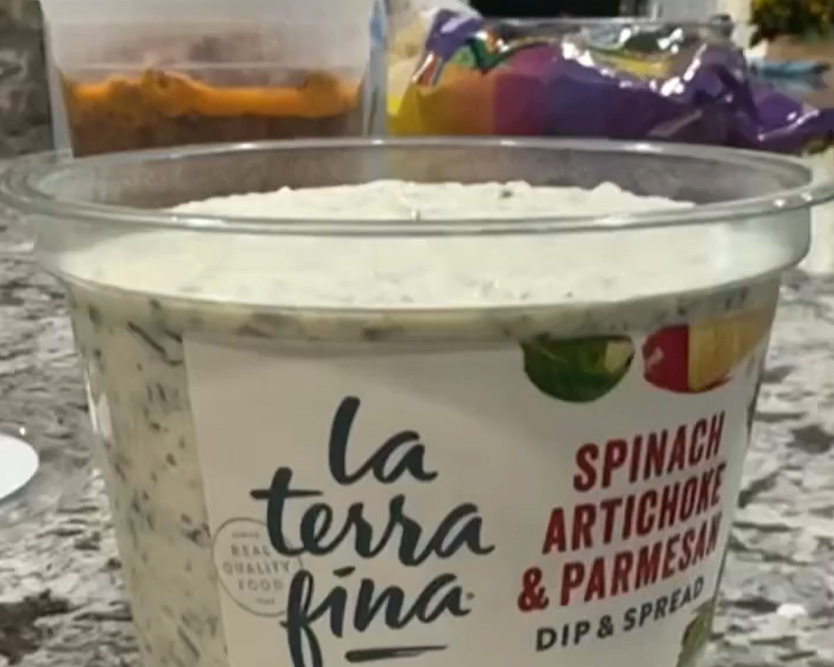
Sprinkle with your choice of Parmesan, Romano, or Asiago cheese,
and bake at 350 for a mere 5-10 minutes, or until warmed.
Dive into a warm, gooey delight perfect for pairing with your favorite crackers, chips, or veggies. Whether it’s a festive bash or a casual get-together, this dip is your secret weapon. Quick, easy, and utterly delicious – it’s not just a party dip, it’s a celebration in every bite!✨ Don’t wait, savor the flavor and make every moment a tasty memory. Your taste buds will thank you! 😋👩🏻🍳
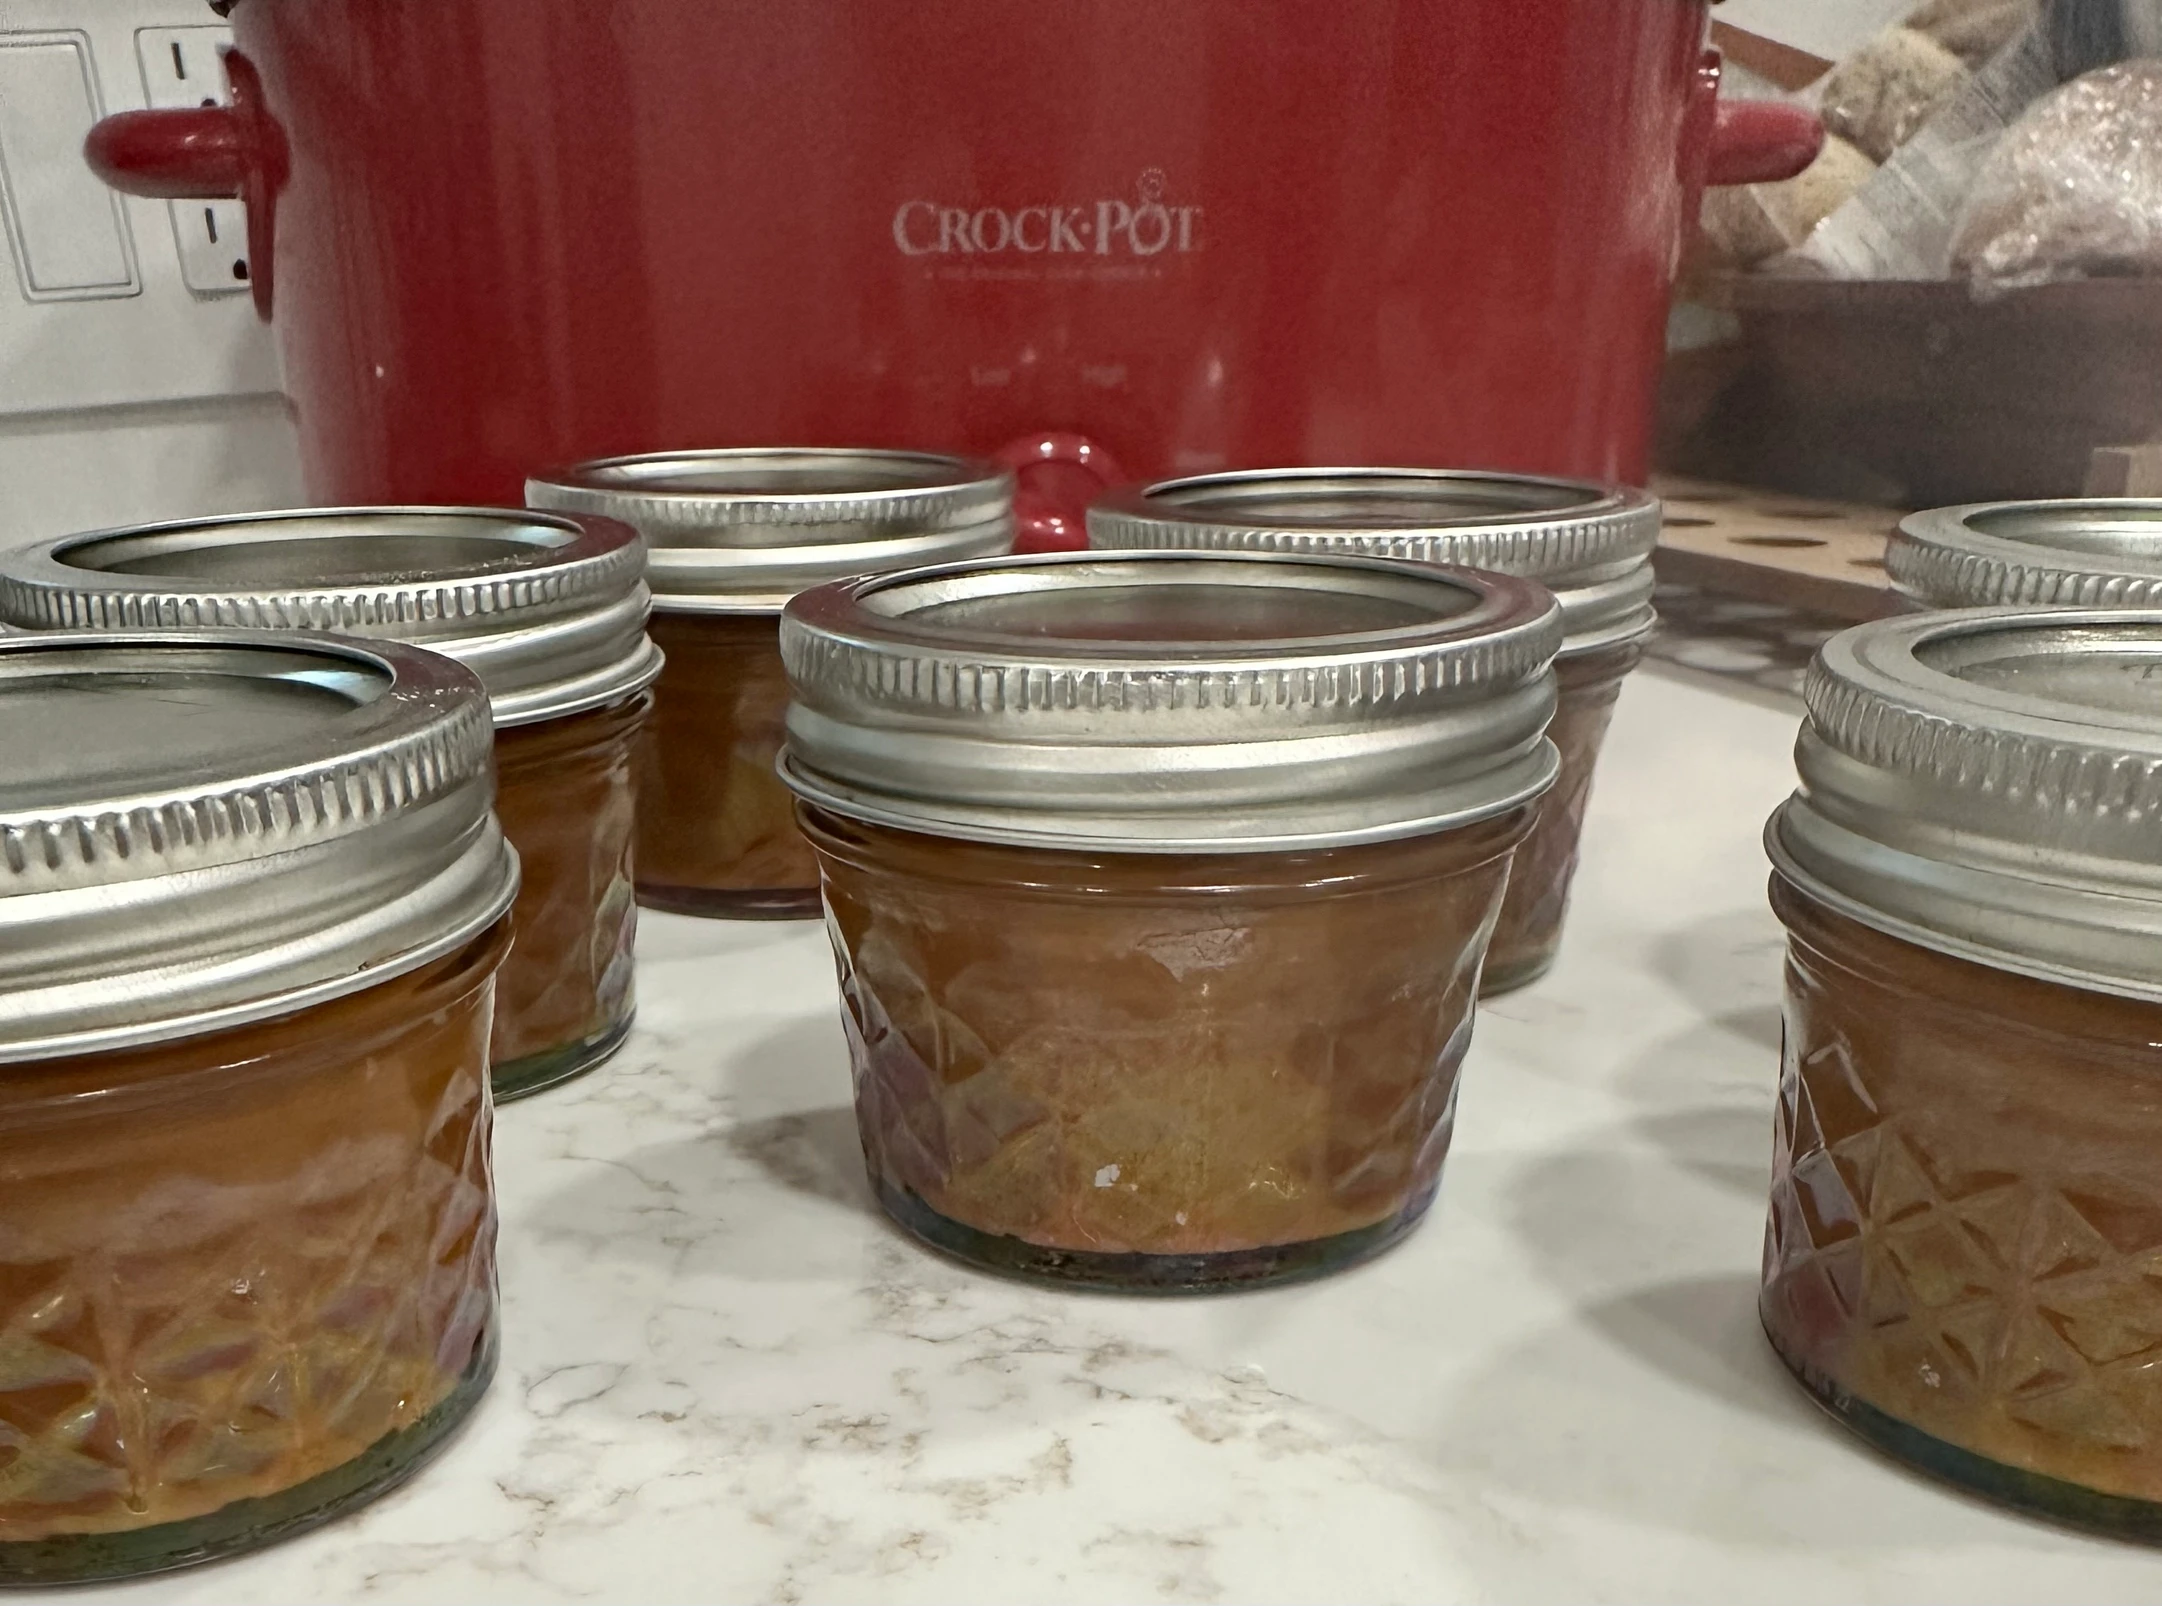
Indulge your sweet tooth with this hassle-free, energy-saving crockpot caramel sauce recipe! Bid farewell to burnt mishaps on the stove.
5 cans of sweetened condensed milk
2 Tablespoons of vanilla
2 teaspoons of salt
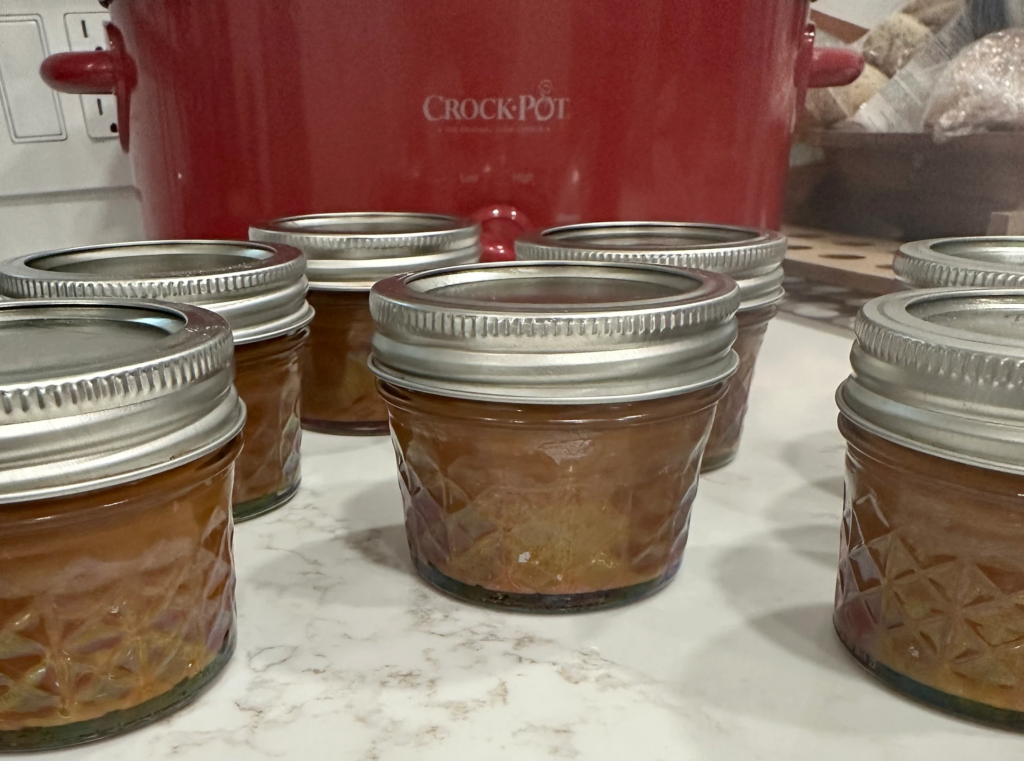
Mix, pour, seal, and let your crockpot work its magic on low for 8 delightful hours—ideal for a worry-free overnight creation. I used these (12) 4 oz. jars and had some left over. 🙌🏼
Check out the video for the steps! 👍🏼
Gift this golden goodness to teachers, neighbors, friends, and family, or add it to a charming gift basket. No more burnt caramel blues – just pure, unbridled sweetness!
Get ready to elevate your treats and spread joy with this easy crockpot caramel sauce!
In the Lone Star State, our weather can go from sunny and 70’s one week to icy and bone-chilling 30’s the next… sometimes all in one day! 😅 But don’t worry, as a proactive realtor, I’m here to help you gear up for the upcoming winter season with some solid advice.
Insulate Your Pipes: Texas may not be known for its harsh winters, but those occasional cold snaps can sneak up on you. Shield your pipes, especially the exposed ones, with pipe sleeves or even newspaper – a quick fix that can save you from expensive repairs.
Weatherproof Doors and Windows: Say goodbye to drafts! Seal any gaps around windows and doors, keeping that warm air in and the winter chill out. Opt for energy-efficient window coverings and insulating films to make your home cozy.
Inspect Your Roof and Gutters: Texas storms can be unpredictable. So, make sure your roof is in tip-top shape by checking for missing shingles and clearing clogged gutters. A little precaution now can prevent a lot of winter damage later! Check out Blackhill Roofing and let them know I sent you! https://blackhillroofing.com/
Switch to LED Lights: Brighten up your holidays with energy-efficient LED lights. They last longer, are safer, and they’ll keep your energy bill in check. Plus, they can handle the Texas elements like a champ!
Disconnect Hoses and Sprinkler Systems: Frozen pipes are no fun! Shut off the water supply, drain those pipes, and stow away the hoses. Your pool and outdoor water features also deserve some TLC.
Protect Your Plants: When the temperature drops below 45 degrees, bring your small plants indoors. For the bigger ones, wrap those tree trunks and add a cozy layer of mulch. Don’t forget to tuck them in with blankets on frosty nights.
Move Outdoor Equipment Inside: Keep your outdoor gear safe from the Texas chill. Store them in the garage or shed, and for those grills, give them a good cleaning and get ready for the random hot day to smoke a brisket!
Get ready for a Texas winter like a pro! These steps will keep you snug and ready for whatever winter weather comes our way.
🏐🎉🥈 This weekend, my daughter’s volleyball team clinched a fantastic 2nd place at the T-Cal State Volleyball Tournament. And guess what? She’s homeschooled, yet she’s out there doing her best on the court, proving that homeschoolers can excel in sports too! 🏠📚⚽
For all you fellow homeschooling parents out there, don’t worry, there are plenty of opportunities for your kids to get involved in sports. 🏀🏊♀️⚾🩰 Whether it’s joining a local homeschool sports chapter competing against private and charter schools, representing your city, or even traveling with a select team to face other talented athletes, there’s something for everyone! 🏃♀️
And let’s not forget the YMCA and Boys and Girls clubs, where your children can explore new sports, learn valuable skills, and be part of a team. 🏅
In our household, my daughter has tried it all – Basketball, Softball, Volleyball, Swim Team, Soccer, and even Ballet, all while enjoying the flexibility of homeschooling. She’s a true sports enthusiast, and I couldn’t be prouder cheering her on from the sidelines. 🙌❤️
Let’s keep encouraging our kids to pursue their passions and stay active! 🌟💪📣
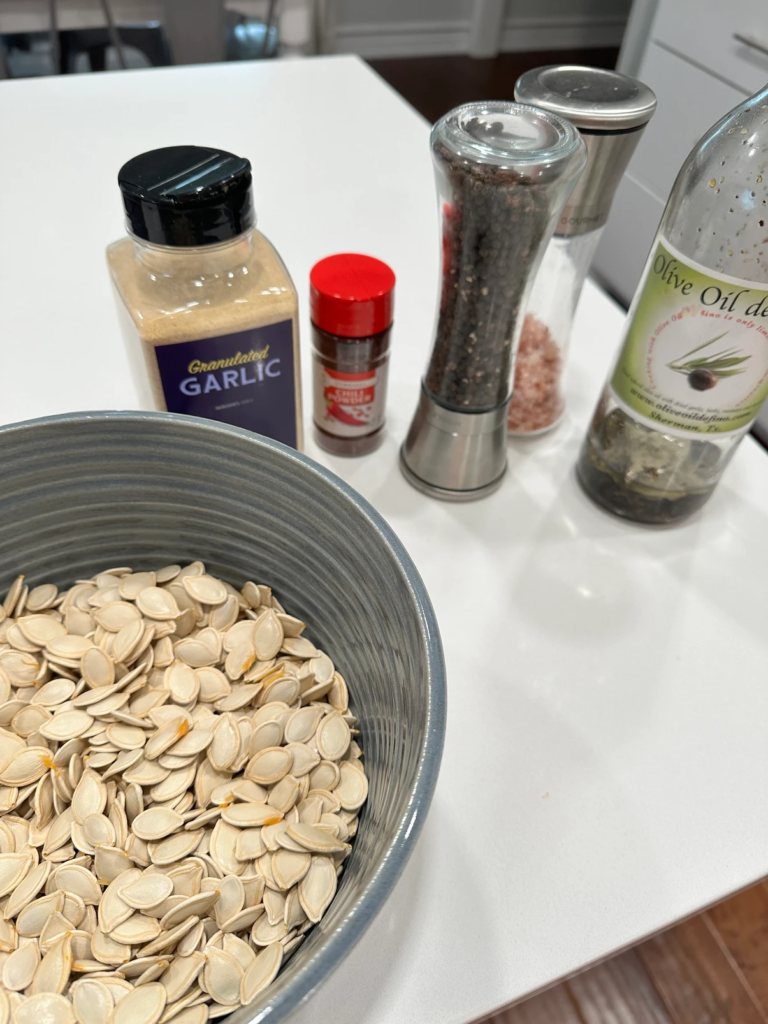
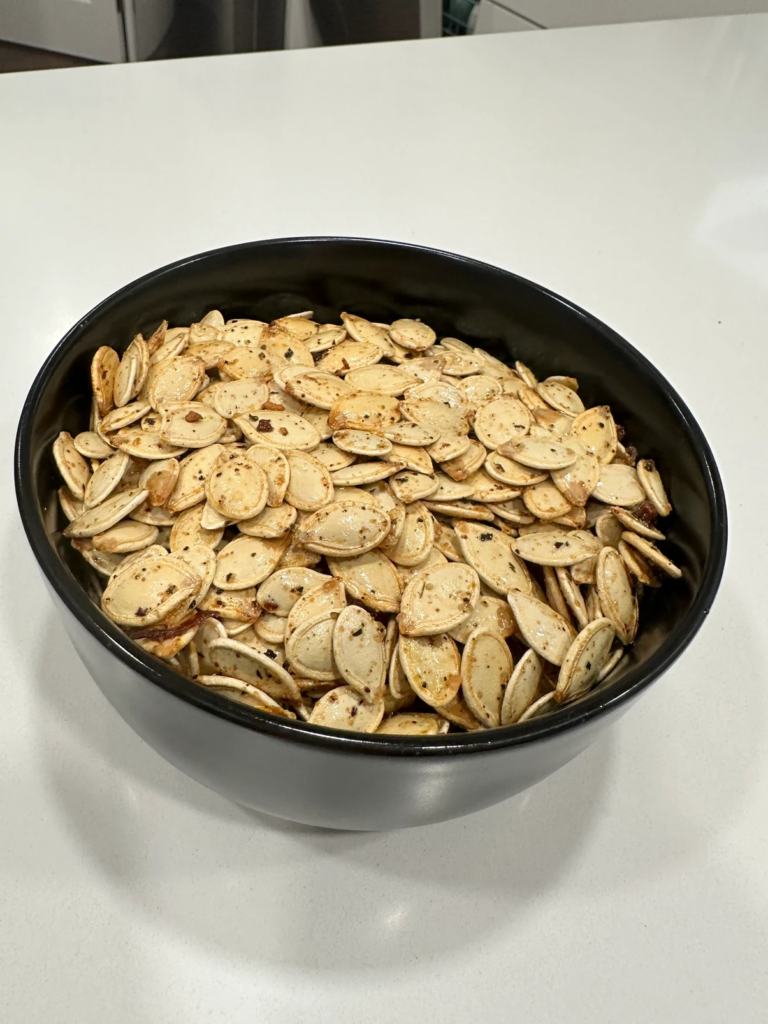
Fall is here, and it’s time to learn the easy way to roast pumpkin seeds. My mom’s tradition of pumpkin seed roasting continues, and I’ll show you the straightforward process to transform these seeds into a tasty snack. No more wasting those seeds – let’s get roasting!
Step 1: Seed Extraction
Start by cutting the top off the pumpkin and scoop out all the seeds.
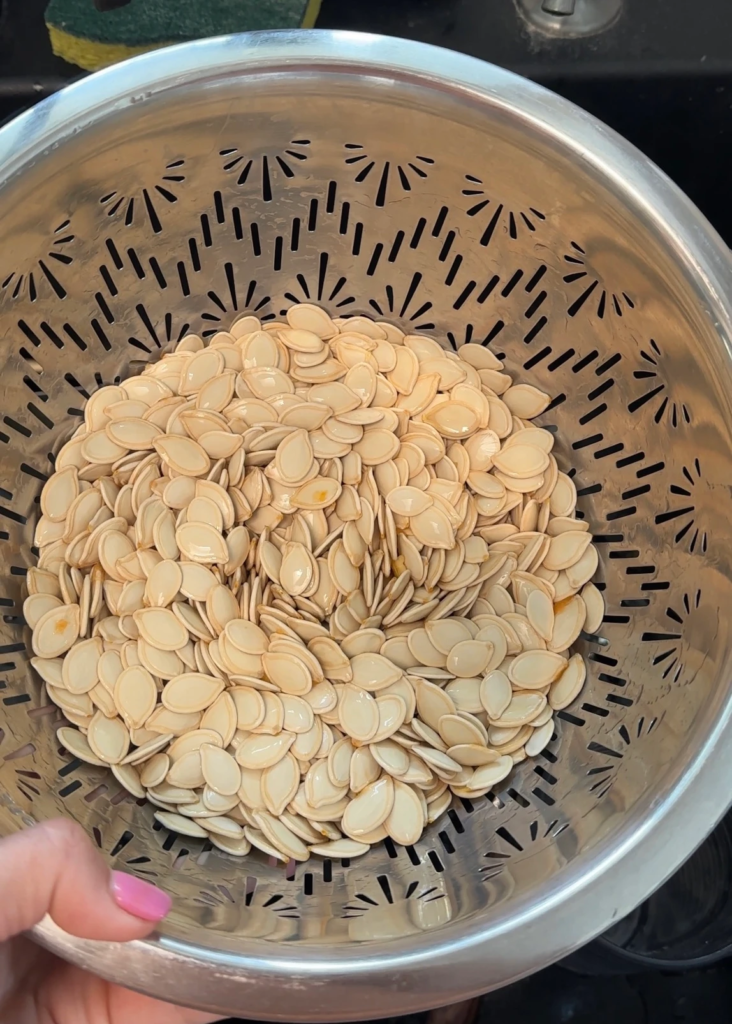
Step 2: Seed Cleanup
Rinse the seeds and remove any remaining pumpkin residue.
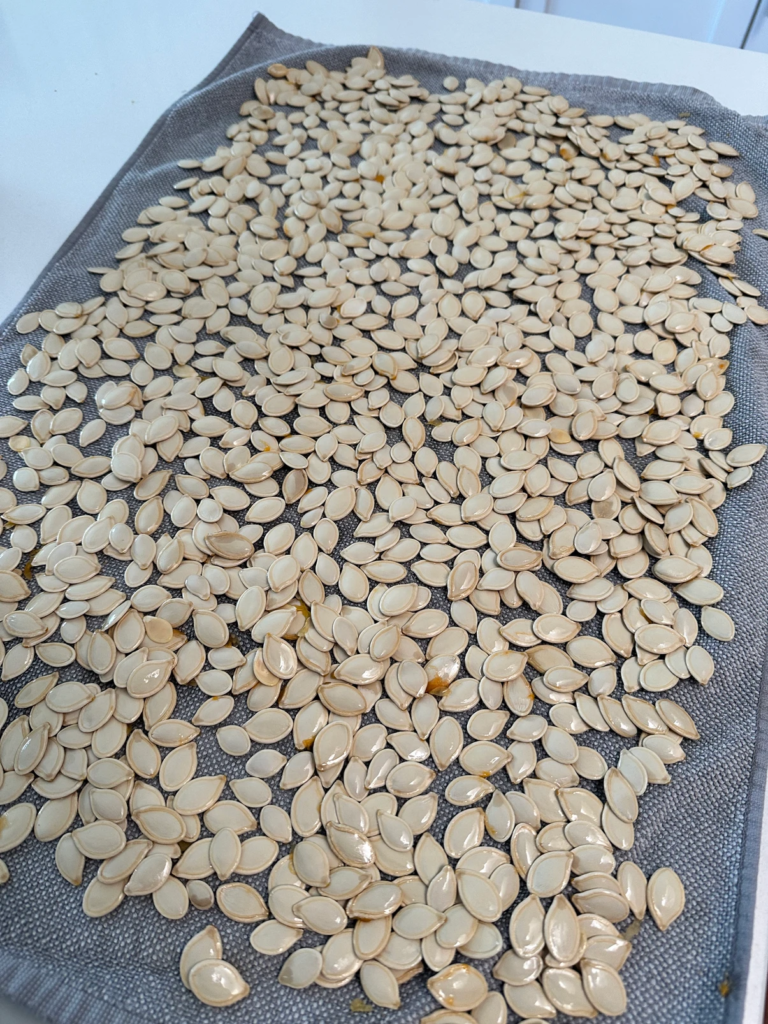
Step 3: Drying Time
Place the seeds on a towel to dry and pat them dry.
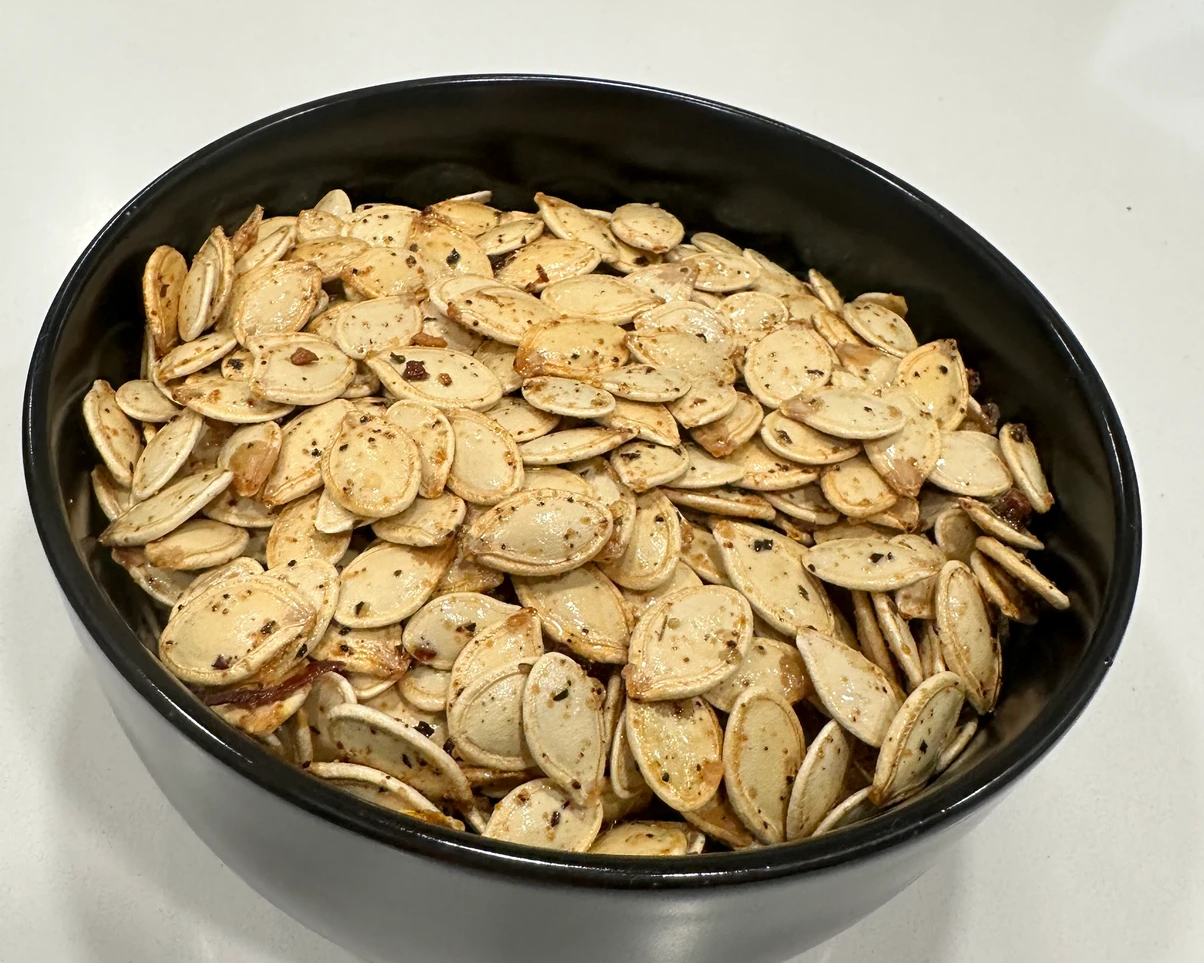
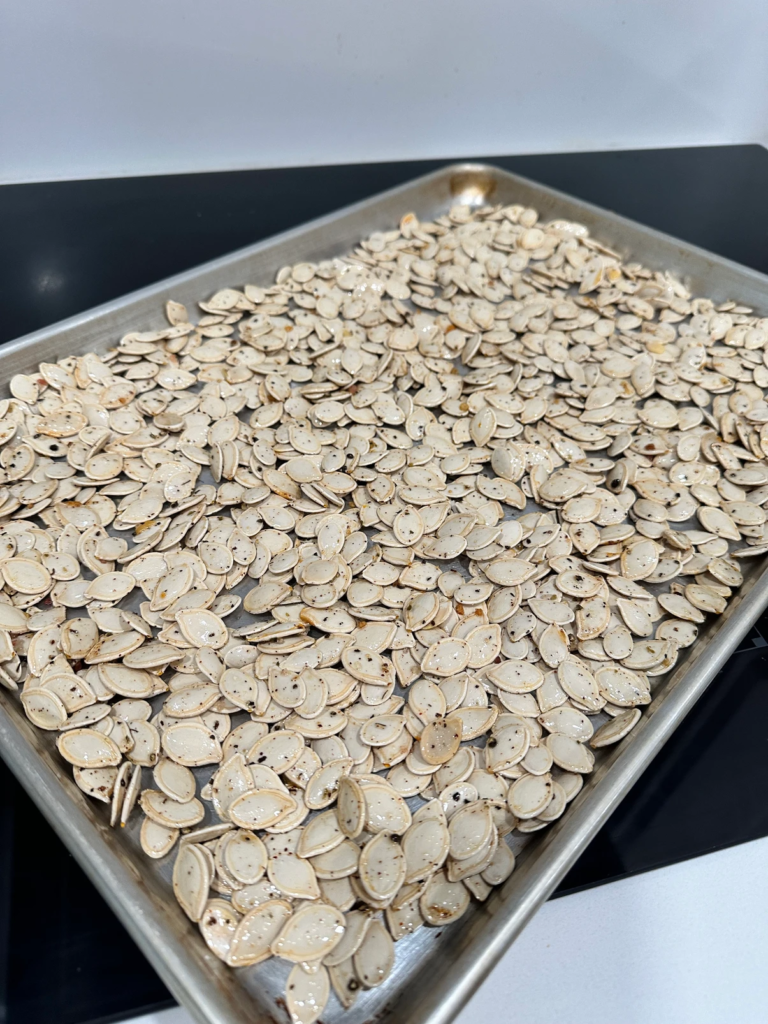
Spread the seasoned seeds on a baking sheet, preheat your oven to 350 degrees Fahrenheit, and bake for 20-30 minutes, tossing them occasionally. For extra crispiness, use the broiler on low until they turn golden brown.
Keep your roasted pumpkin seeds in an airtight container, and they’ll remain fresh for 2-3 weeks. These seeds are not just a tasty snack; they’re rich in fiber and zinc, making them an excellent on-the-go snack.
Roasting pumpkin seeds is an easy and enjoyable tradition. Everyone and anyone can make these crispy bite size snacks without the hassle!
As a realtor, I thrive on finding the best deals, just like my husband and I did when we started our family at a young age. We had two babies within 18 months and were, shall we say, a little strapped for cash. It was then that we got creative – turning garage sales into treasure hunts and transforming furniture, fixing whatever needed repair, and even mastering the art of reupholstering. We could make three ingredients taste like a gourmet meal. Creativity, we learned, isn’t confined to art; it applies to all aspects of life, including the search for a new home.
Today, let’s explore two fantastic home-buying options with boundless potential for savings – purchasing a new build or snagging a nearly complete model home.
In Denison, TX, Highland Homes is offering a spectacular deal on their almost-finished homes. With options of 6-7 custom upgrades and enticing incentives for closing costs. If you choose to finance through them, you might save up to a whopping $15,000 on closing costs, all while possibly securing an ultra-low interest rate of 5.99%. And if we go, say today, you could be unwrapping presents in your new home this Christmas – an opportunity that’s nothing short of amazing!
Building your home from the ground up, utilizing a builder’s plan, is an exciting venture, though it typically takes around 8 months. In this world, delays can happen, but expecting them ensures you won’t be disappointed when they do.
But what if the idea of a neighborhood isn’t your cup of tea? If you crave 1–3 acres of personal space, I’ve got you covered! In Denison, there are fantastic land deals waiting for you. Tilson Homes will not only provide you with great building options, but also guide you through the entire process, from soil samples to the perfect floor plan. They make building on your land a painless experience.
Now there is a 3rd option and that is going on a treasure hunt with me for the home that will fit your needs and where you can add your special touches to make it your own.
Home buying can be a prompt journey or a more extended process, but rest assured, I’m here for the entire ride. And hey, I’ll sweeten the deal with some homemade bread and butter to enjoy along the way!
From the time my daughters were little, I’ve wanted to showcase the endless possibilities of learning at any stage in life. I made it a point each year, that I’d embark on a new adventure.
One year, it was growing our own vegetable garden. We grew multiple cucumbers and transformed them into mouthwatering bread and butter pickles. Stay tuned; I’ll soon share the recipe and canning tips.
Another year, I decided to mix up my fitness routine by taking exercise classes. The unexpected happened; I became certified and started teaching classes myself. Ha!
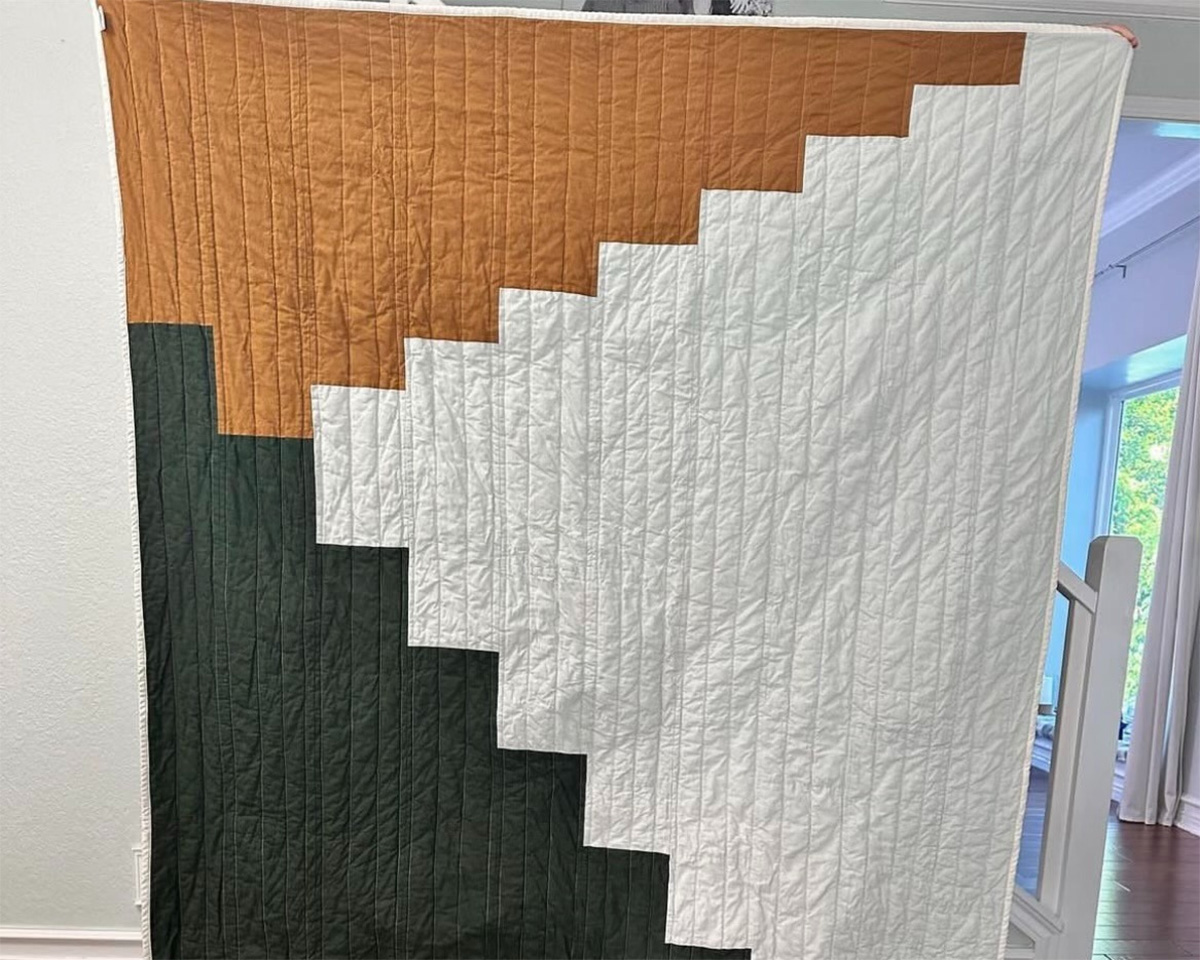
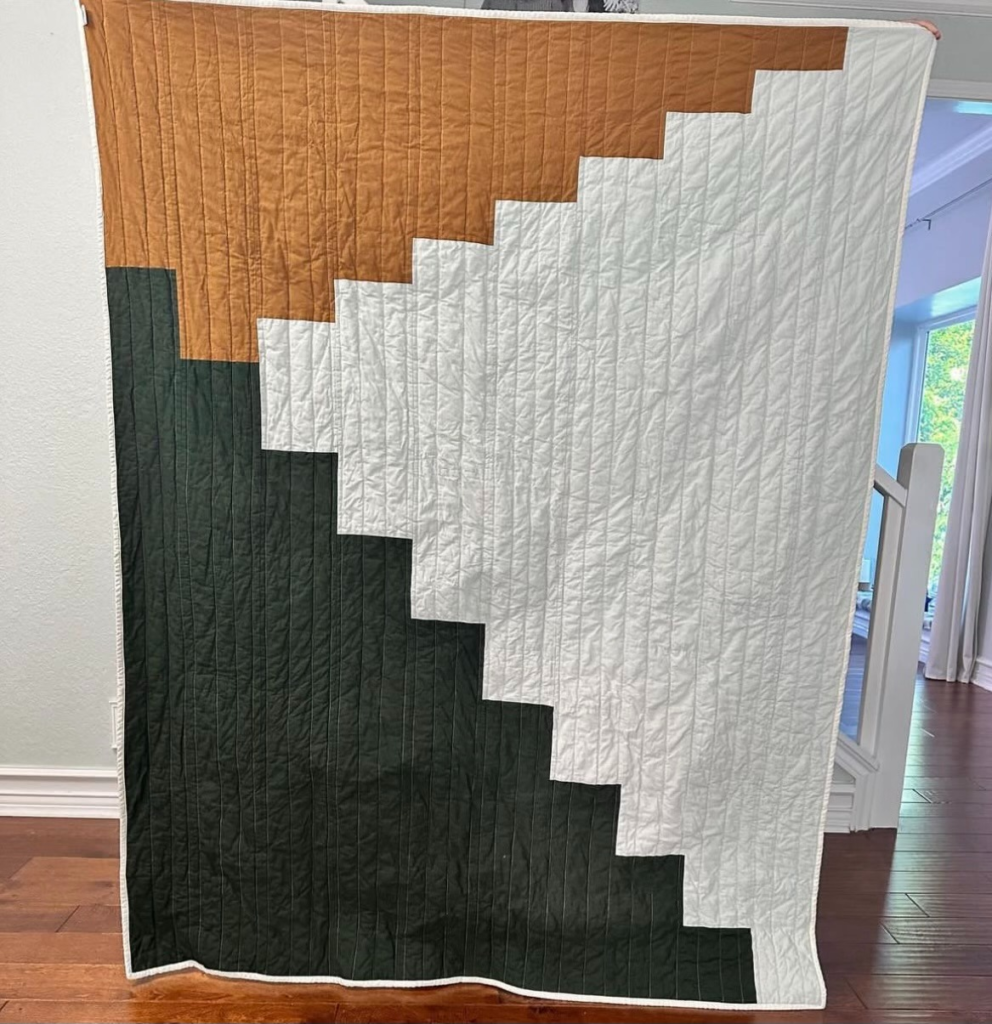
My hands always need to stay busy with something productive. So, when I stumbled upon a quant quilt shop in Yukon, Oklahoma, I knew I’d found my next learning venture. I enrolled in a series of one-on-one quilting classes, and the rest, is history.
Quilting fuels my creativity, allowing me to work on projects bit by bit. It’s a world teeming with opportunities to expand and grow – the variety keeps me far from ever getting bored.
One year, I set an audacious goal for myself: to craft over 100 quilts of all sizes, from snug baby quilts to a luxurious queen-size one, complete with fluffy faux fur on the back. Yes, it was as heavy as it was luxurious! Unsurprisingly, my masterpiece went to my incredible momma, who deserves nothing but the best!
If you’re curious and want to feast your eyes on ALL the quilts I’ve crafted over the years, head over to my Instagram profile, FaithGraceQuilts.
And here’s a little secret: keep an eye out for spontaneous quilt giveaways! You never know when I’ll decide to spread some warmth and creativity your way. 🪡🎁
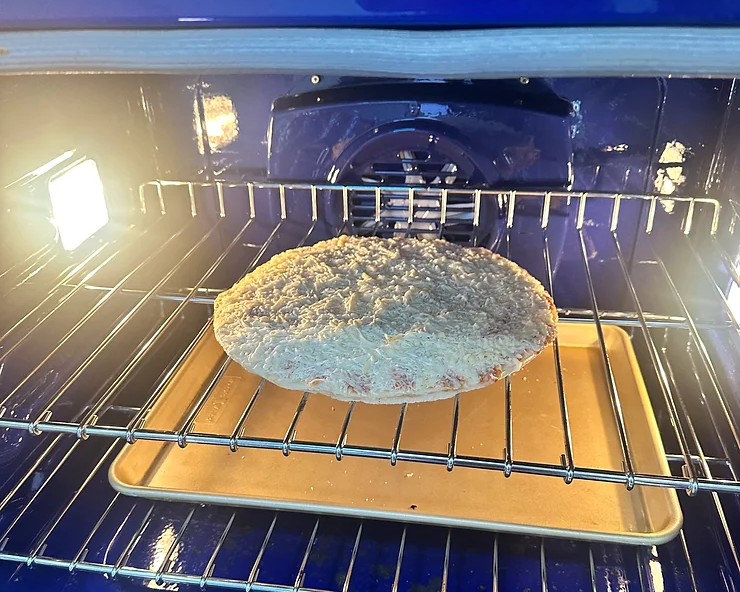
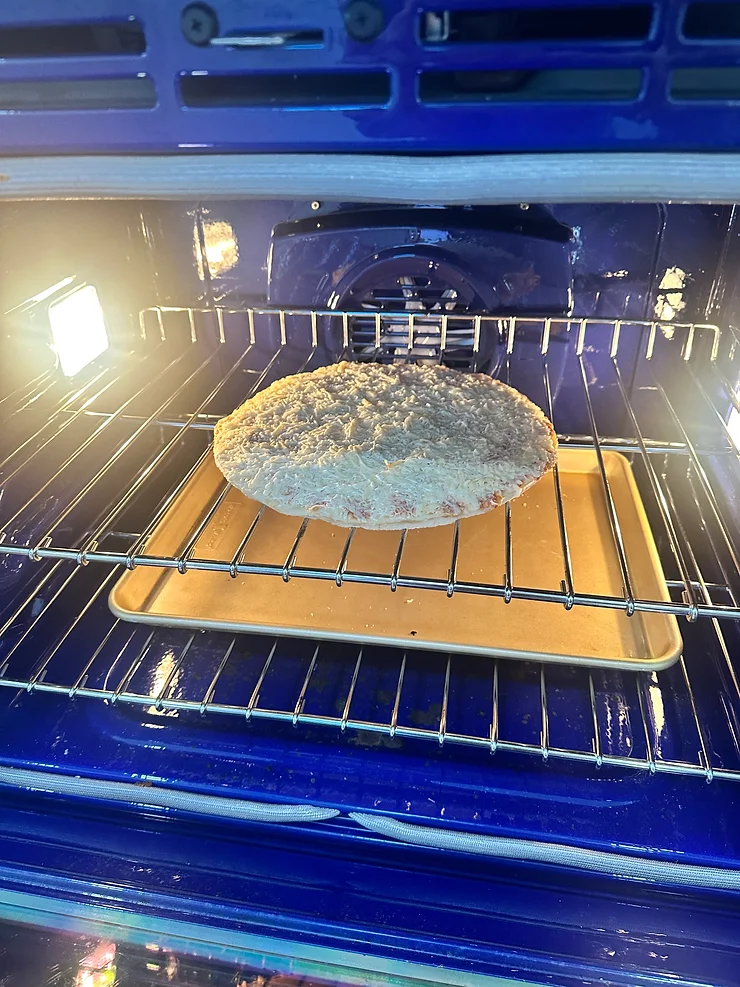
Are you ever stumped when deciding what to make for dinner, and your ultimate solution is reaching for store-bought pizza? If you’re like me, you’re in for a treat with a game-changing life hack that my girls and I use every time we indulge in store-bought pizza: the Crispy Oven Pizza trick!
It’s a simple process: Take that delicious pizza out of the box and plastic wrap, then slide it directly onto the oven racks of your preheated oven. But here’s where the magic happens: position a baking sheet pan on the bottom rack under the pizza. When your pizza is perfectly cooked, just use a flipper to effortlessly transfer it onto the baking sheet pan. Voilà!
What’s the advantage? You get hot pizza on a hot pan, and there’s absolutely no mess on the bottom of the oven from pesky cheese droplets. It’s super easy and has become our go-to method for enjoying store-bought pizza at home.
If you need a visual guide, be sure to check out our video showcasing just how amazingly easy and seamless this life hack is.
Say goodbye to oven cleanup woes and hello to the crispiest oven pizza experience!
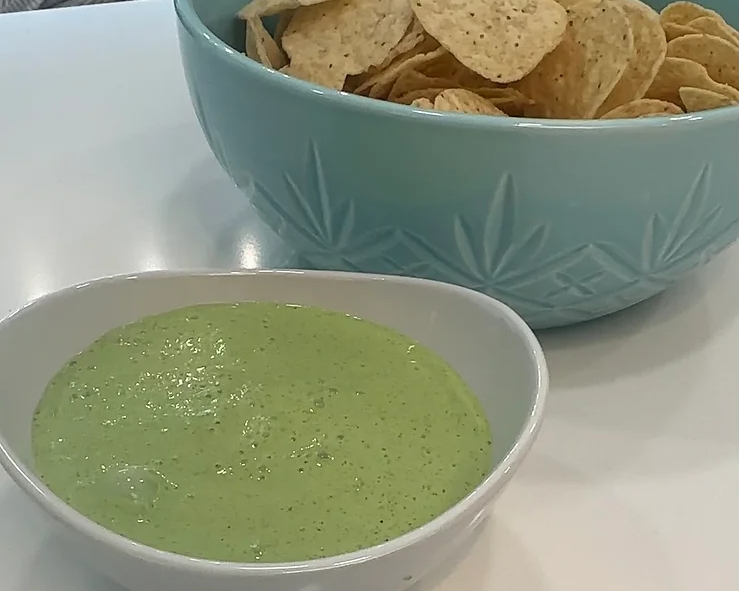
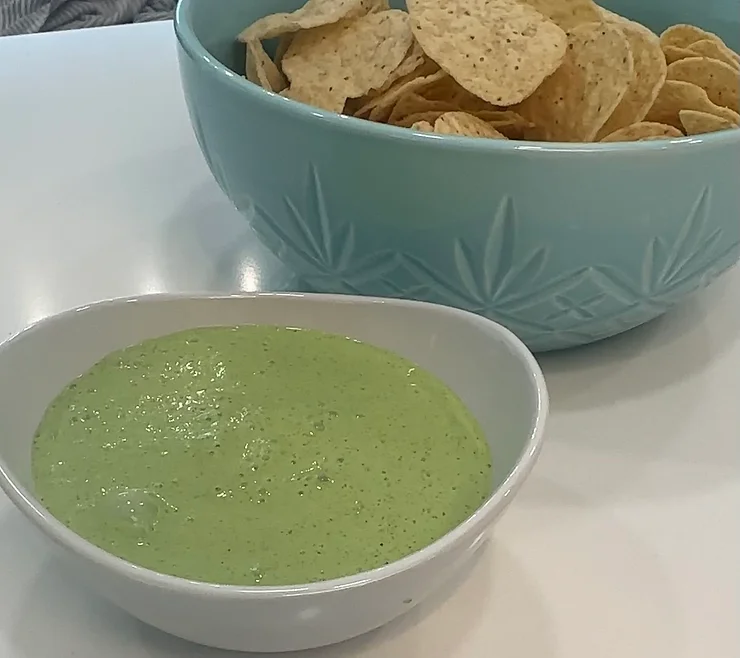
Looking to dazzle your guests at a party or treat a friend to a delightful snack during a casual chat? Look no further than this sensational Cilantro Lime Dip! It’s not just easy to whip up, but it’s a guaranteed crowd-pleaser. All you need is a trusty blender or food processor – both will work like a charm.
Ingredients:
2 bunches of fresh Cilantro (don’t forget the stems and leaves!)
The juice of 2 zesty limes
1 packet of Ranch Dip seasoning
2 jalapeños (remove the stems, but leave the whole thing in for that spicy kick)
16 oz. of creamy sour cream
1 small can of green chiles
Directions:
Gather all your ingredients and toss them into your blender or food processor.
Hit the blend button and watch the magic happen as everything transforms into a velvety smooth green concoction. Make sure to taste once blended, if you need more spice or less heat!
Now, it’s time to present your creation in style! Pour this vibrant blend into a charming bowl, and you’re ready to impress.
But wait, the adventure doesn’t stop there! Pair this Cilantro Lime Dip with your choice of tortilla chips, fresh carrot sticks, crisp cucumbers, or crunchy celery. It’s like a flavor explosion in every bite!
But that’s not all. This dip isn’t just a party star; it’s also a culinary chameleon. Drizzle it over your chicken or beef tacos to take them to a whole new level of deliciousness. And don’t even think about serving shrimp or fish tacos without it – it’s an absolute must!
Best of all, your masterpiece can hang out in the refrigerator for up to 1 week (if it lasts that long!), so you can savor its sensational taste whenever you please. Get ready to elevate your snack game and let your taste buds dance with joy.