From Design to Real Estate
Discover the story behind the real estate agent who’s made a mark in Texas and Oklahoma
How it All Began
.jpg)
It all started on a summer day when Robin was sitting at the community pool with her kids, reflecting on the next chapter of life. She had a fulfilling career in commercial interior design working in Dallas and Houston, but after having children, she embraced the opportunity to stay home. Yet, one magazine article about second careers sparked an idea.
“As my youngest was heading off to kindergarten, I thought, ‘Why not?’ So, I got my real estate license and haven’t looked back since. My baby is 26 now!”
Real estate offered her the flexibility to balance family, career, and volunteering, while also supporting her husband’s demanding career on the road.
Building a Thriving Business in Sherman
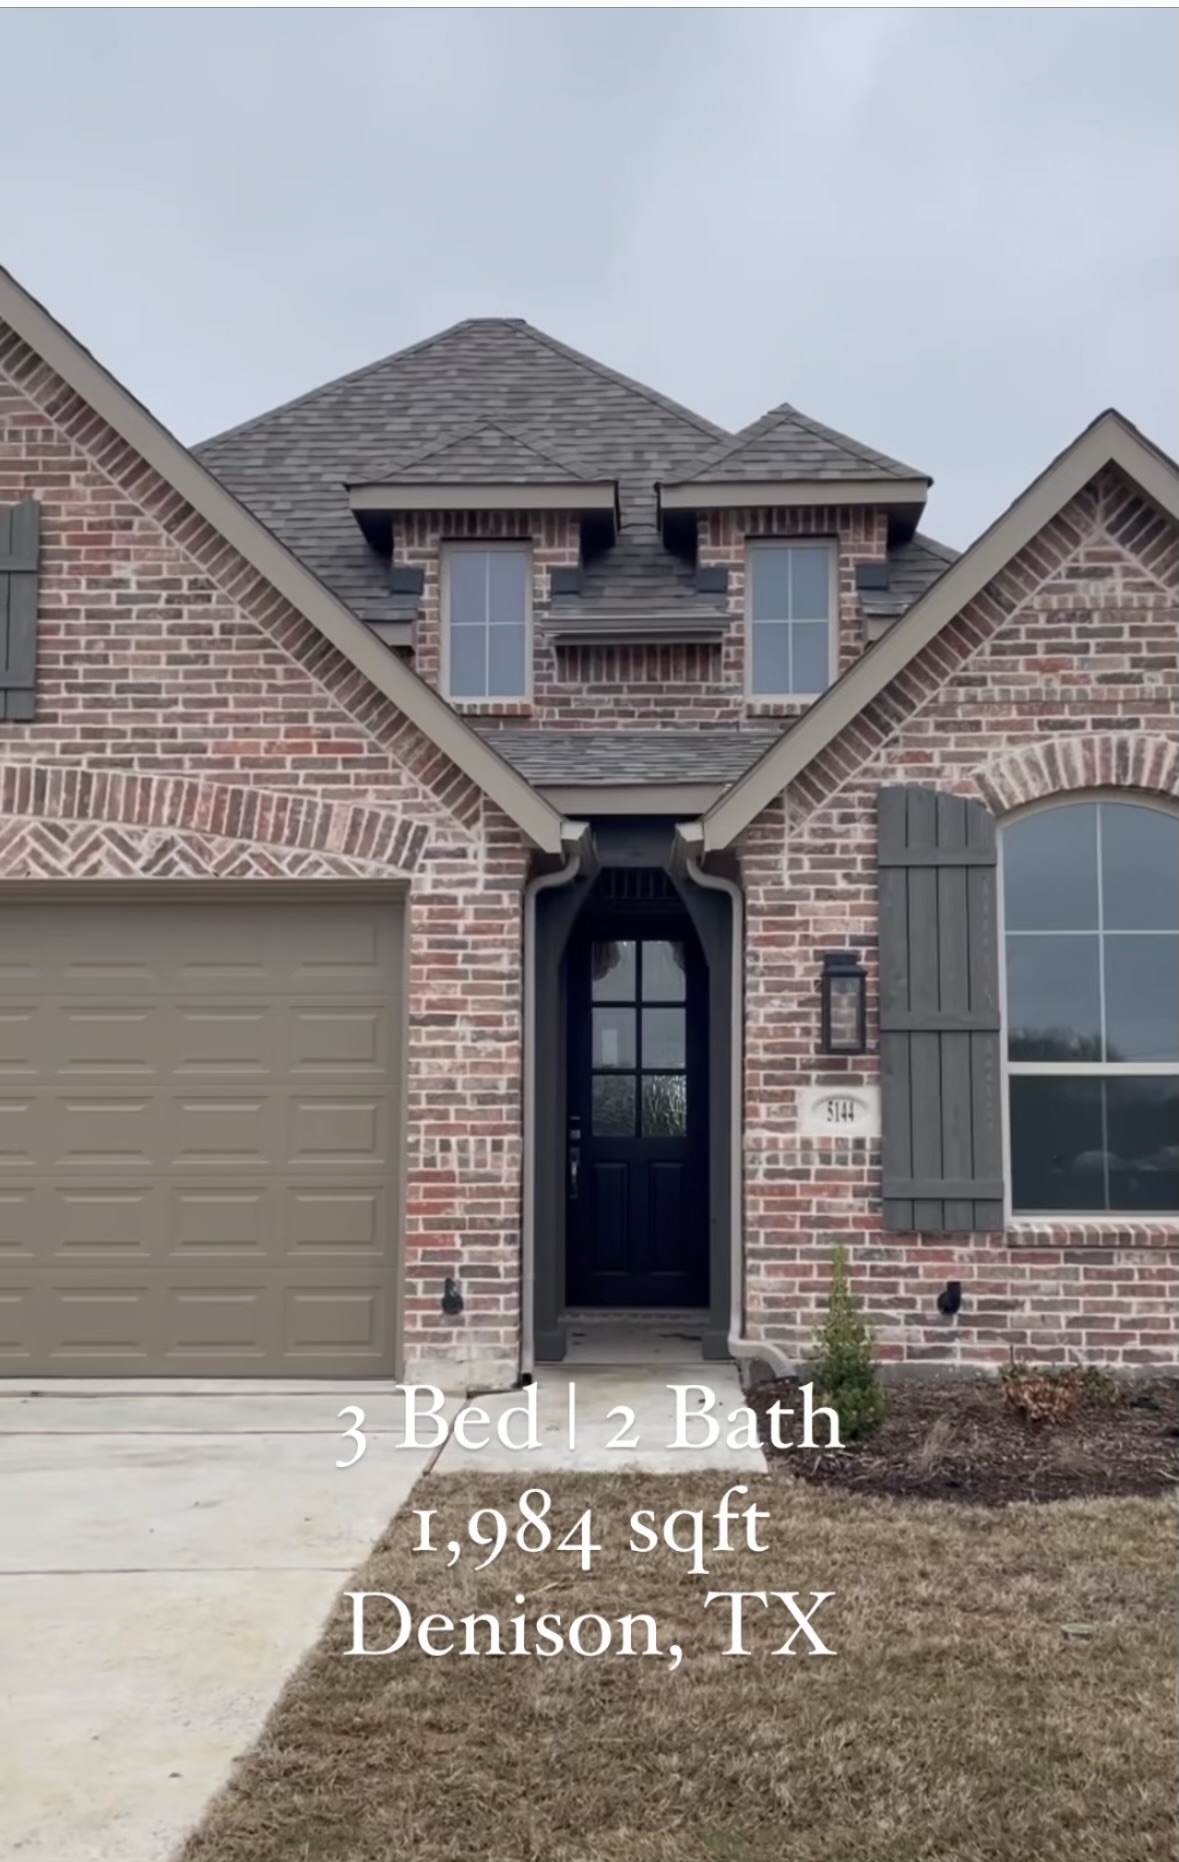
Now with 20 years in real estate, Robin has built a successful business across Texas and Oklahoma, handling everything from starter homes, picture perfect homes, vacant land and even commercial investments. Robin recently expanded by leading The Phillips Team, where she mentors new agents and helps them grow in their careers. Her deep ties to Sherman, Texas, where she’s lived for 35 years, give her an insider’s perspective on the local market!
Family & Community: The Heart of it All
Family is everything for Robin. She’s been married to Larry Phillips for 35 years, and together they have three children and three grandchildren. Her husband’s career in elected office has kept the family deeply connected to the community, especially in Sherman, Texas, where they’ve raised their family.
Sherman holds a special place in Robin’s heart and she truly embraces everything about her town. She’s a fan of local trails, parks, and hole-in-the-wall restaurants that offer a bit of character and charm. Robin has a passion for volunteering and is involved in her local church. She is on the boards of SEDCO, Grayson College Foundation, and First State Bank Citizen Advisory. Her love for the area runs deep, and she has a unique appreciation for older neighborhoods with mature trees – a passion rooted in her upbringing in a historic neighborhood.
The Unexpected Joys of Real Estate
While the fast pace of real estate might seem like a thrill, there’s one aspect Robin didn’t expect: the friendships.
“I didn’t realize how many lifelong friendships I’d form. Clients becoming friends – that’s the best part of this career,” she shares.
It’s a reminder that real estate is about more than just transactions – it’s about building relationships that last. Over the years, Robin has earned a reputation for maintaining confidentiality and protecting her clients’ interests. She’s built a solid foundation in both residential and commercial real estate and continues to learn and grow with the industry.

Fun & Balance
When she’s not working, you can find Robin floating in her pool with a good book in hand. It’s her way of relaxing and recharging for the busy days ahead. Balance is essential, and she makes sure to carve out time for herself amidst the hustle of real estate.
Why Paragon and Advice for New Agents
For Robin, Paragon provides the perfect blend of professional support and resources, allowing her to thrive in her career. Her advice for new agents is straightforward: show up, dress for success, ask questions, and establish a daily routine. These habits, combined with staying ready to take action, are key to long-term success in real estate.


